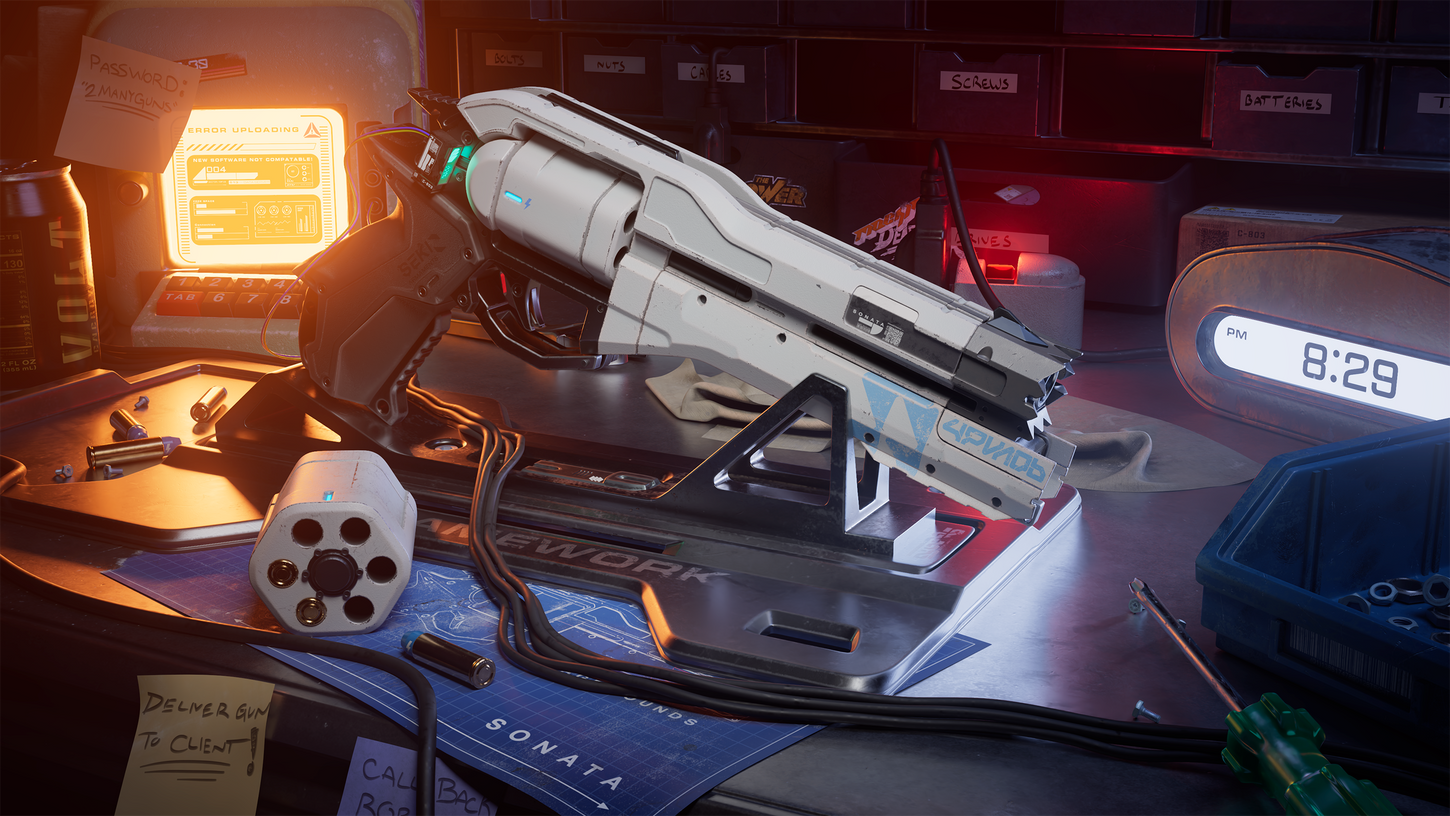
Revolver Sonata
During my Texturing and Shading 2 class taught by the amazing Christophe Desse at Gnomon, I found Su Wang's revolver concept design and fell in love with it. I wanted to create it myself as a hard surface exercise and tell a new story with it.
The main challenge I faced while creating this scene was ensuring the background props complemented the hero prop and everything feels harmonious. Visual design is a skill I greatly admire and I find myself trying to improve upon that with every project I tackle. I spent time diving into the history and work of Syd Mead to see what interesting shapes, color, and story telling choices he made throughout his work. This was helpful whenever I would find myself needing inspiration. I researched material from the rich world of Cyberpunk 2077 for storytelling and structure.
I also came across the wonderful work of CG artist Zaki, which provided great inspiration for some of my background props.
The Project was made using: Redshift, Maya, Substance Painter, Zbrush, Substance Designer. and Photoshop.

Lighting
Here is a breakdown of lighting used in the scene.
I was able to achieve the look with a total of 6 lights.
When lighting, less is more.
Hard Surface Asset Creation
Here is a breakdown of taking a simple model and making it a high quality asset using Zbrush

When making hero hardsurface weapons/props I typically make the high poly using Zbrush. I like to block the general silhouette of each piece in Maya and begin creasing and using live Boolean to cut in secondary and tertiary details inside Zbrush.
The benefit of working with live Booleans is their non destructive nature. Having the ability to move Boolean pieces and see the result in real time is great for either designing or matching concepts more quickly.
In the end you get a great looking asset, with the ability to go back and make further changes to the look if needed.


